Friday, August 29, 2008

Making Network Cables Using a Crimper

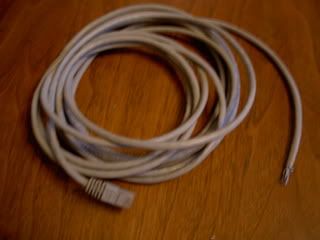
When I was about halfway through a project of making 47 patch cables by hand, a friend pointed out that patch cables can be bought for less than a dollar each on various web sites. This post, therefore, is probably not very useful anymore...but it may come in handy if you ever have a few stray network cables that need to be a different length, or an RJ-45 connector gets damaged.

You will need the following supplies.

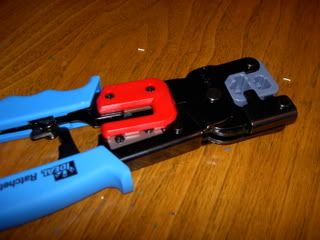
A crimper

Photobucket


One or more CAT5 or CAT5e network cables

Photobucket


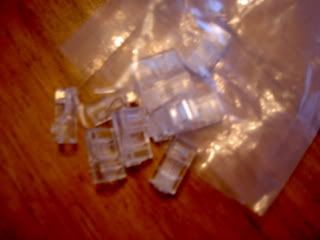
A bunch of RJ-45 connectors

Photobucket


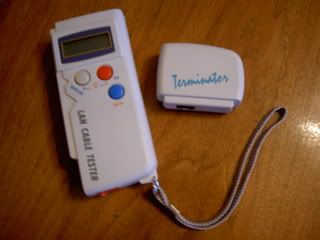
A cable tester

Photobucket


Lots of patience!!!


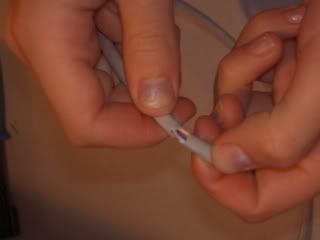
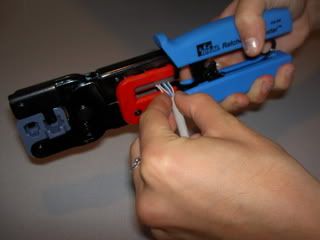
First, use the cutting side of the crimper to cut away about an inch of shielding from the wires. This will take some practice to figure out how deep to go without damaging any wires. You will probably have to start over several times before you get it right.

Photobucket

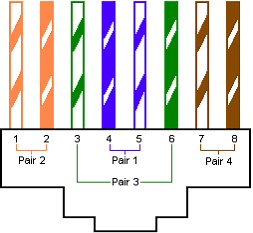
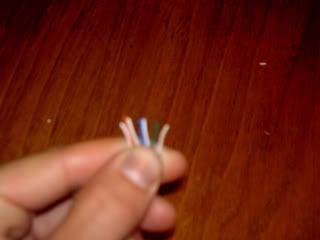
Next, untwist the wire pairs and bend them into the right order, as shown in the diagram below.

Photobucket

Photobucket

If necessary, use the cutting side of the crimper to snip the ends of the wires so that they are equal in length.

Photobucket

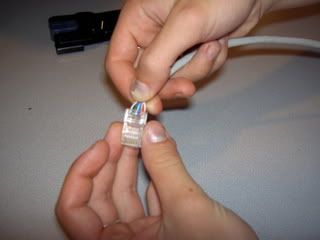
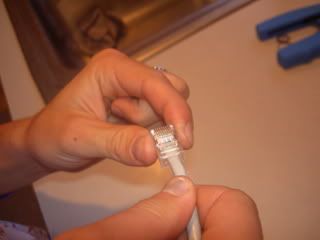
Take an RJ-45 connector (with the latch facing down) and insert the wires inside, pushing them firmly to the very end of the connector. Make sure that they stay in the proper color order and that every single wire goes to the very end of the connector. This is much more difficult than it looks at first, and takes precision and attention to detail.

Photobucket

Photobucket

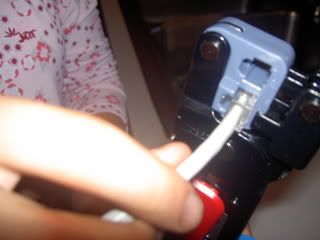
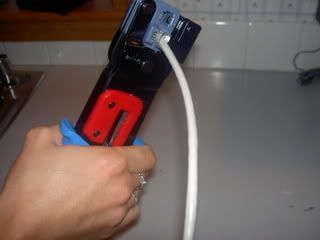
When you are sure that the wires are firmly in order and in place, press the connector into the slot on the crimper, and squeeze the handles together until there is a clear "click".

Photobucket

Photobucket

Release. Remove the cable from the crimper.

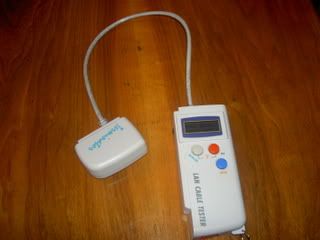
When you have finished both ends of the cable, use the cable tester as shown in picture to determine whether you were successful or not.

Photobucket


Press "enter" and watch the screen. The numbers 1,2,3,4,5,6,7,8 should line up with each other. If you accidentally crossed any wires, the numbers will not line up correctly and the cable tester will display an unknown cable type. If they line up correctly, you have made a network cable that is ready for use!
Saturday, August 23, 2008

Using Sysprep & Clonezilla

What is Sysprep?

Sysprep is a utility included with the Windows XP operating system that prepares the computer so that when it is restarted, it will execute what is called mini-setup. Depending on the settings you choose during Sysprep (see instructions below), mini-setup will ask you various questions about the installation, allowing you to customize specifics such as computer name, administrator password, and time zone.

Why use Sysprep?

Sysprep is ideal for use in the business environment, when multiple computers (with identical hardware) need the same software installed on them. Instead of repeating the same configuration and software installations on every individual computer, this can be done just on one source computer. Then you can run Sysprep on the source computer, and use Clonezilla (see instructions below) to clone all the target computers' hard drives identically. When you start these computers after the clone is complete, mini-setup will run, allowing you to customize the installation in whatever areas you specified during Sysprep. Everything else (including installed programs) will be identical to the source computer. This can be a big time saver!


Preparing Source Computer to Execute the Sysprep Utility

  1. Install operating system and all desired applications on the source computer.
  2. Create a folder at the root of the system drive called “Sysprep”. (Ex. File path: C:\Sysprep)
  3. Insert the XP CD-ROM and browse to Support\Tools\Deploy.Cab folder, and copy all its contents to C:\Sysprep.

Creating an Answer File for the Mini-Setup

  1. Browse to the Sysprep folder you created and run Setupmgr.exe.
  2. Select “Create New” and click “Next”.
  3. Select “Sysprep setup” and click “Next”.
  4. Select the appropriate operating system, and click “Next”.
  5. Select “No, do not fully automate the installation” and click “Next”.
  6. Click through each of the settings options, filling in the blanks for the settings that you wish to automate on the Sysprep install. (For example, if the administrator password will be the same for all computers, enter it in this answer file so that the user does not have to enter it each time the Mini-Setup is run on target systems.)
  7. When you have clicked past all the Settings, click “Finish” and specify C:\Sysprep as the save location for the new answer file you have just created. Note: You must keep the answer file’s default filename and extension, Sysprep.inf; otherwise Sysprep will not read it as the answer file.
  8. Confirm that the specified location and file name are correct, then exit the Setup Manager dialog box.

Running Sysprep on the Source Computer

  1. Browse to the Sysprep folder you created and run Sysprep.exe. Click “Okay” to confirm.
  2. Check the “Use Mini-Setup” box and select “Shutdown” as the Shutdown Mode.
  3. Click the “Reseal” button.
  4. Allow Sysprep to run. When the computer has shut down, you are ready to begin the HD clone using Clonezilla or some other cloning software.

Using the Clonezilla Live CD to Clone a Hard Drive & Complete Mini-Setup

Note: A free Clonezilla ISO image is available for download here.

  1. Plug an external hard drive (of equal or larger capacity to the source computer HD) into the source computer, and power on.
  2. Insert Clonezilla Live CD-ROM into the source computer, and reboot.
  3. Wait for the computer to automatically boot from the CD-ROM.
  4. Hit “Enter” to select “Clonezilla Live (Default settings, VGA 800x600)”. Wait for the scripts to finish running. Do not hit any keys during this time.
  5. Hit “Enter” to accept en_US.UTF-8 English.
  6. Select “Don’t touch keymap” and hit “Enter”.
  7. Hit “Enter” to start Clonezilla.
  8. Select “device-device disk/partition to disk/partition” and hit “Enter.”
  9. Hit “Enter” to choose the disk to local disk clone.
  10. Use the arrow keys to choose the source computer’s hard drive as the source disk, and hit “Enter”. Important: Choosing the wrong hard drive will wipe the source computer and clone it as the empty external hard drive disk instead. Make sure you are selecting the source disk.
  11. Use the arrow keys to choose the external hard drive as the target disk.
  12. Hit enter to accept the default parameters (-g-auto and -r).
  13. Select “Use the partition table from source disk” and hit “Enter.”
  14. Type “y” and hit enter…do this each time you are prompted to confirm an action (4 times total). Allow the clone to complete. (This should only take a few minutes.)
  15. Press “enter” to continue when prompted.
  16. Type “1” to reboot and hit “Enter.” Eject the CD-ROM when prompted, and press “Enter”.
  17. When the computer boots, mini-setup will begin. Fill in the required information (computer name, admin password, etc) to customize the installation.
  18. Take the external hard drive (which is now identical to the source disk) and plug it into the first target computer.
  19. Insert Clonezilla Live CD-ROM into the target computer and boot.
  20. Complete steps 4-17 on the target computer, making sure that on step 10 you choose the external hard drive as the source disk.

Friday, August 22, 2008

In Progress

Stay tuned for first installment.